
Goal
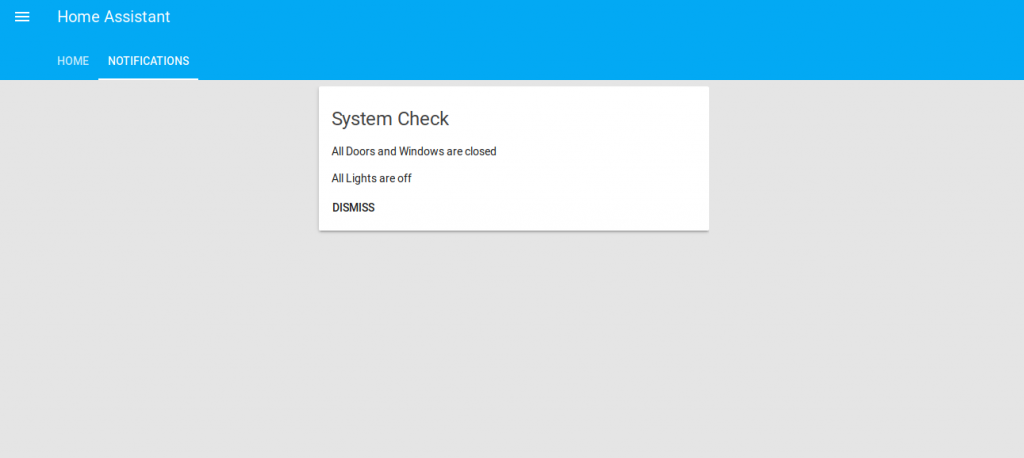
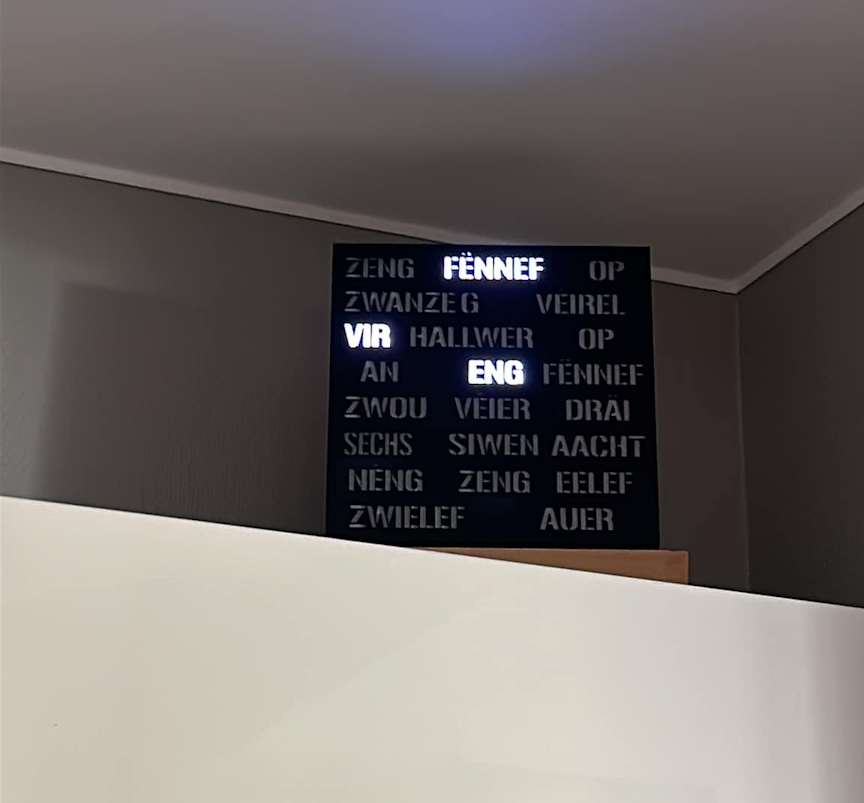
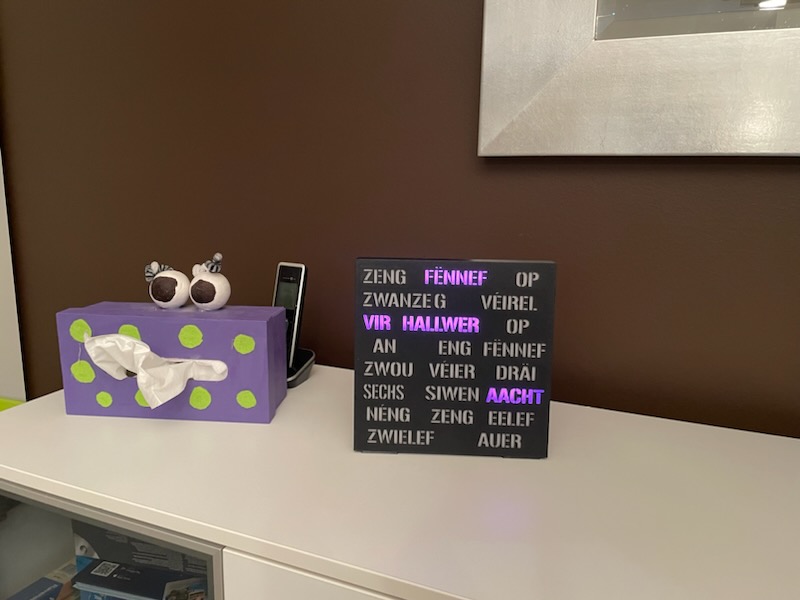
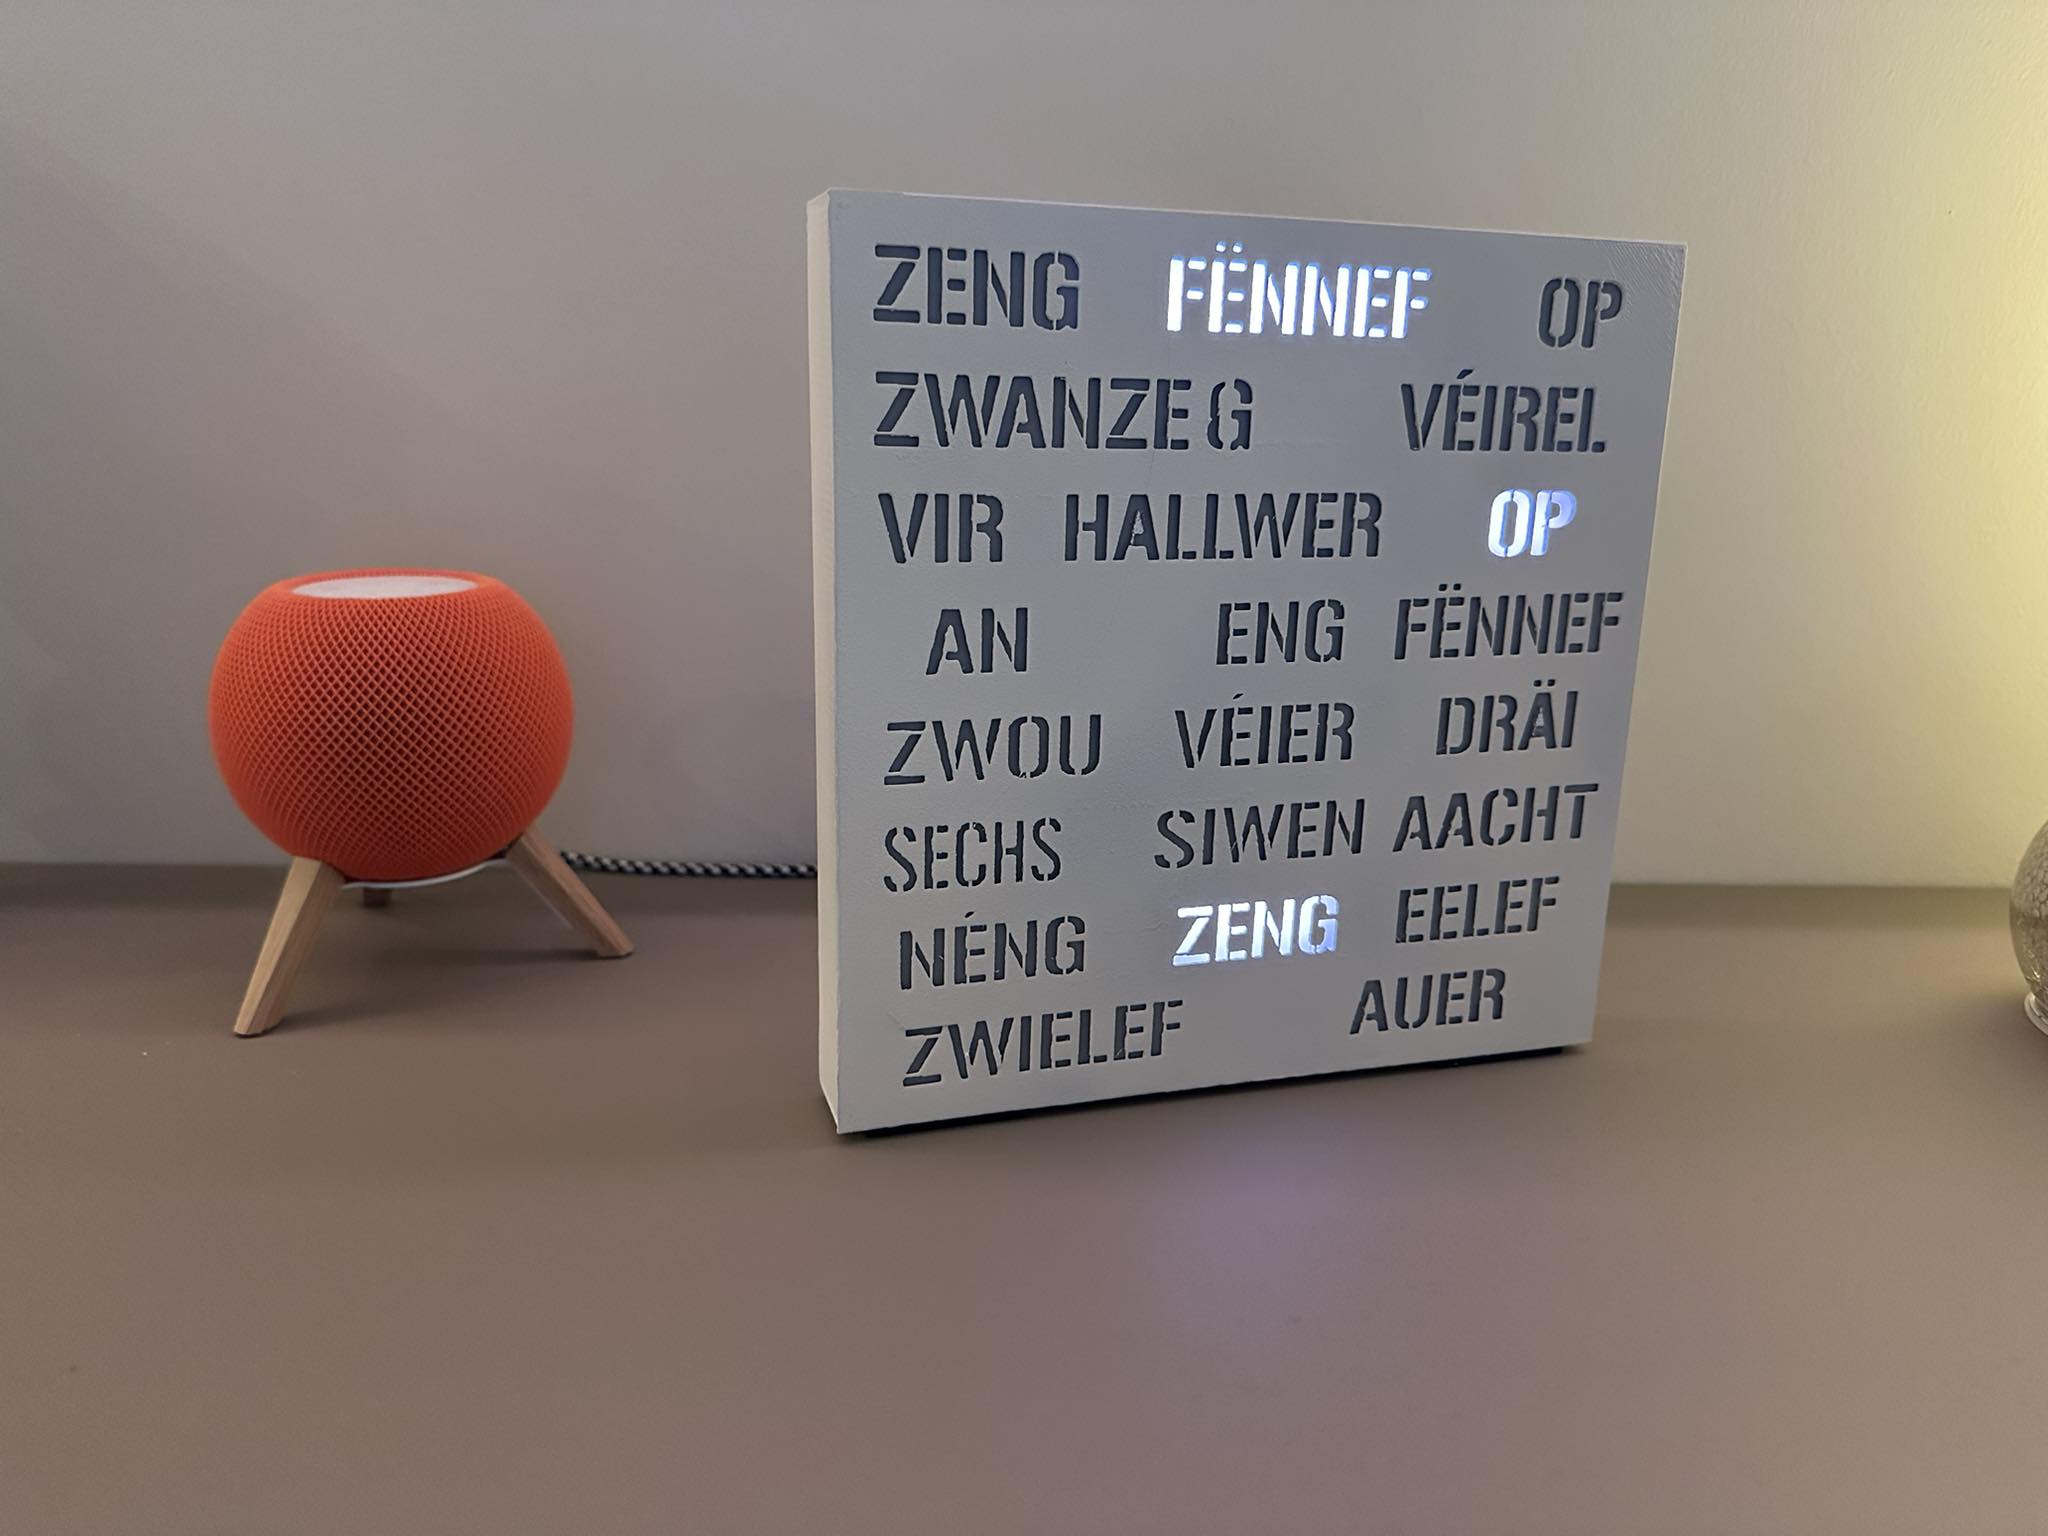
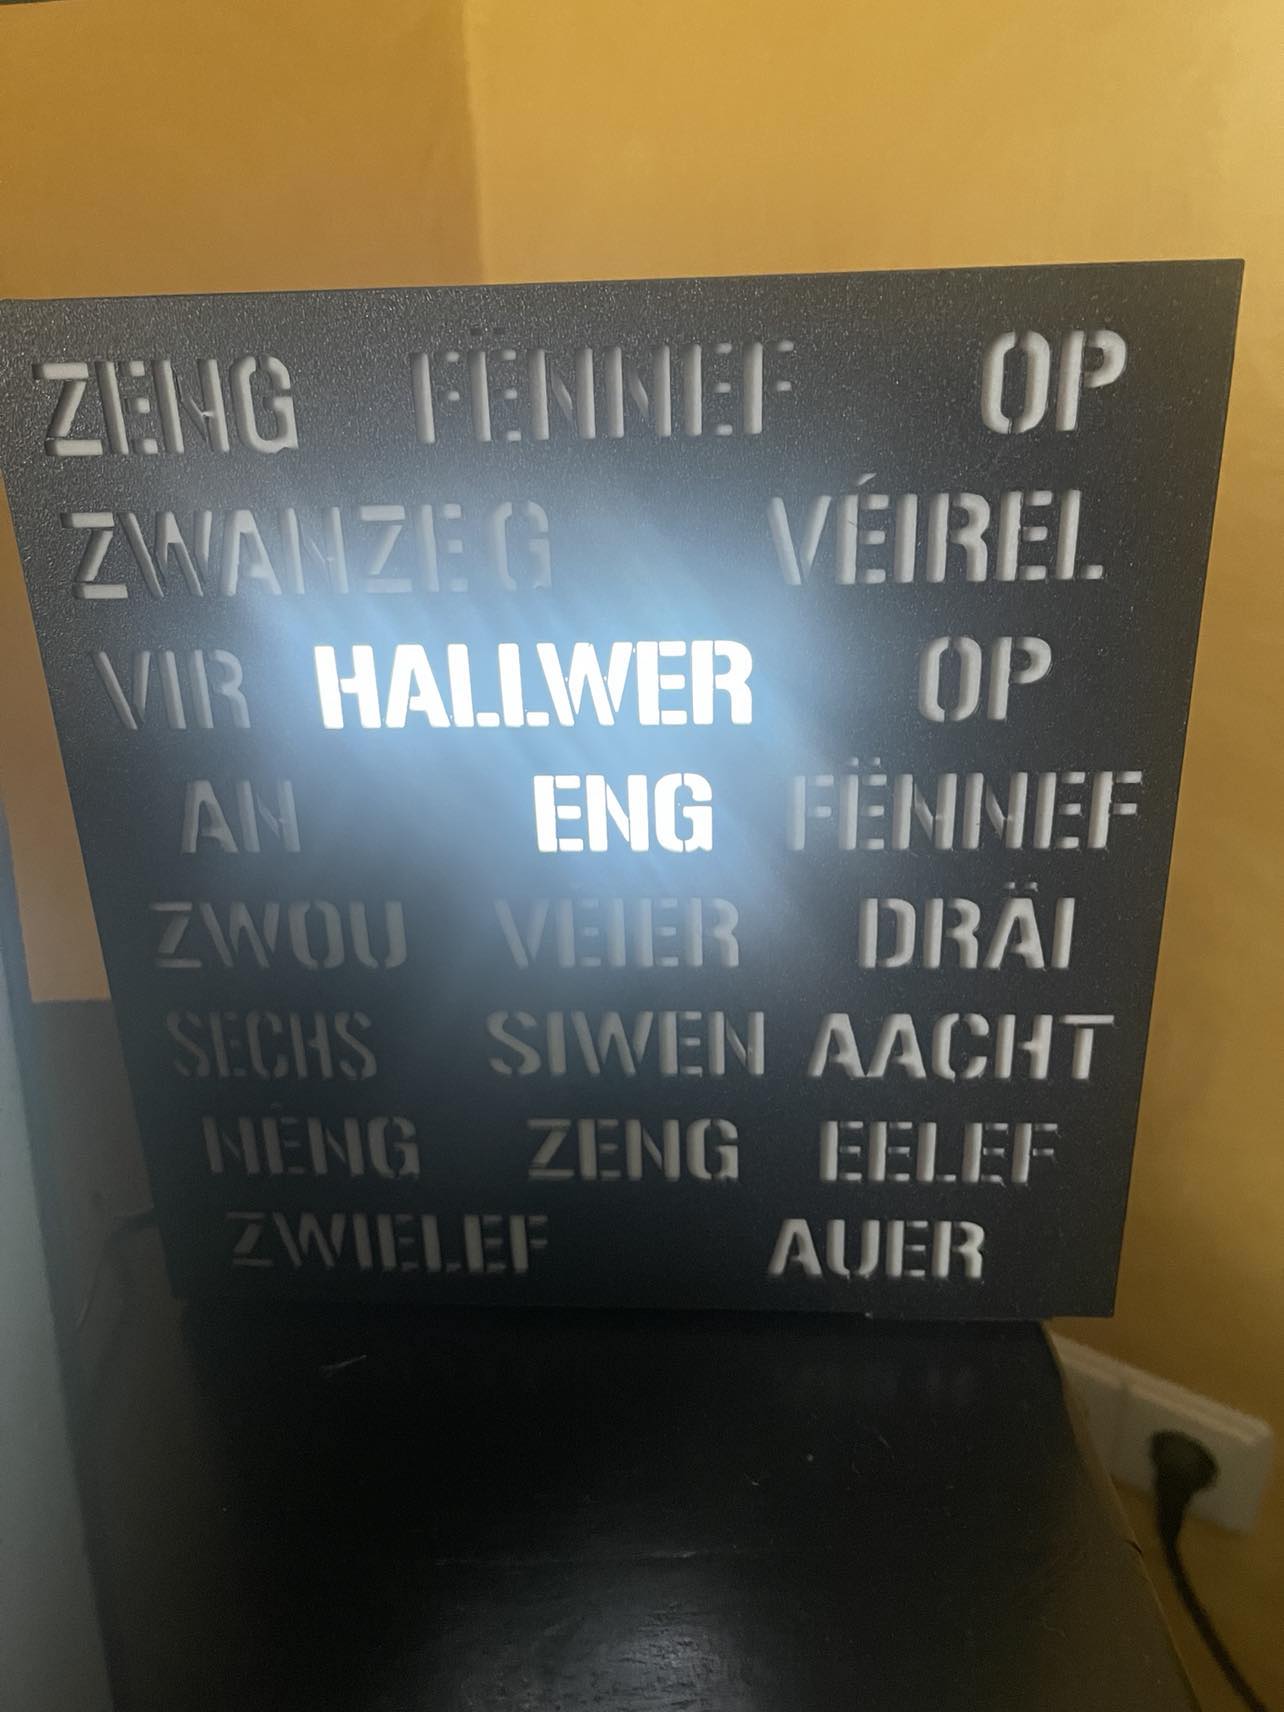
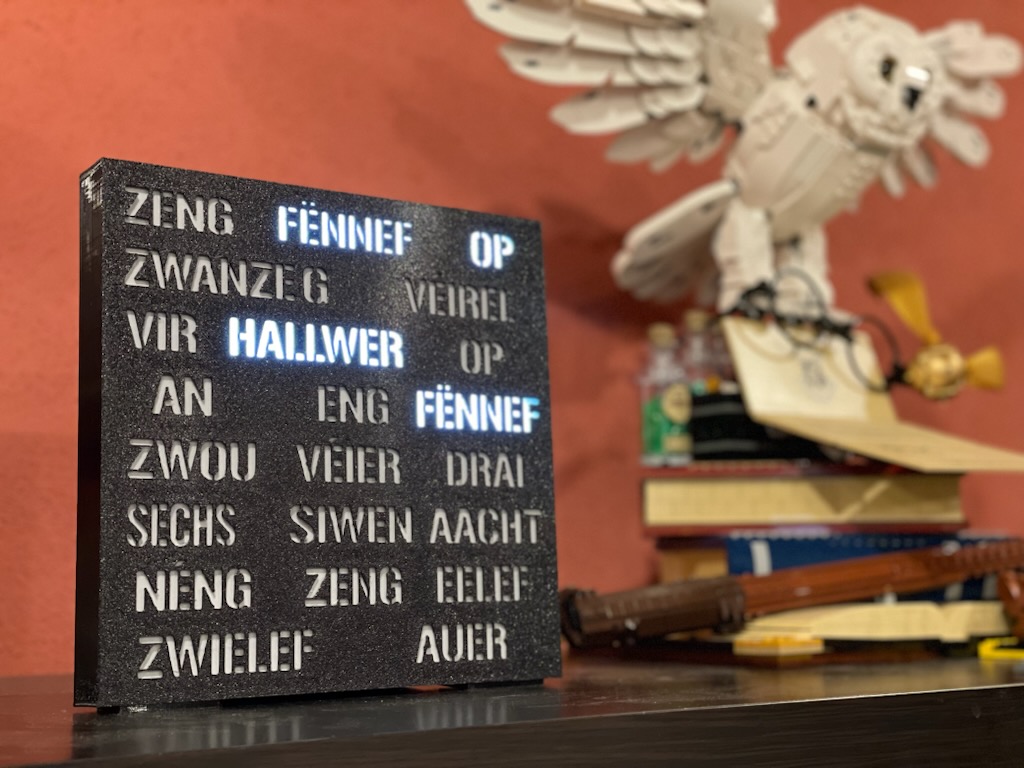
Home-Assistant System Check Message
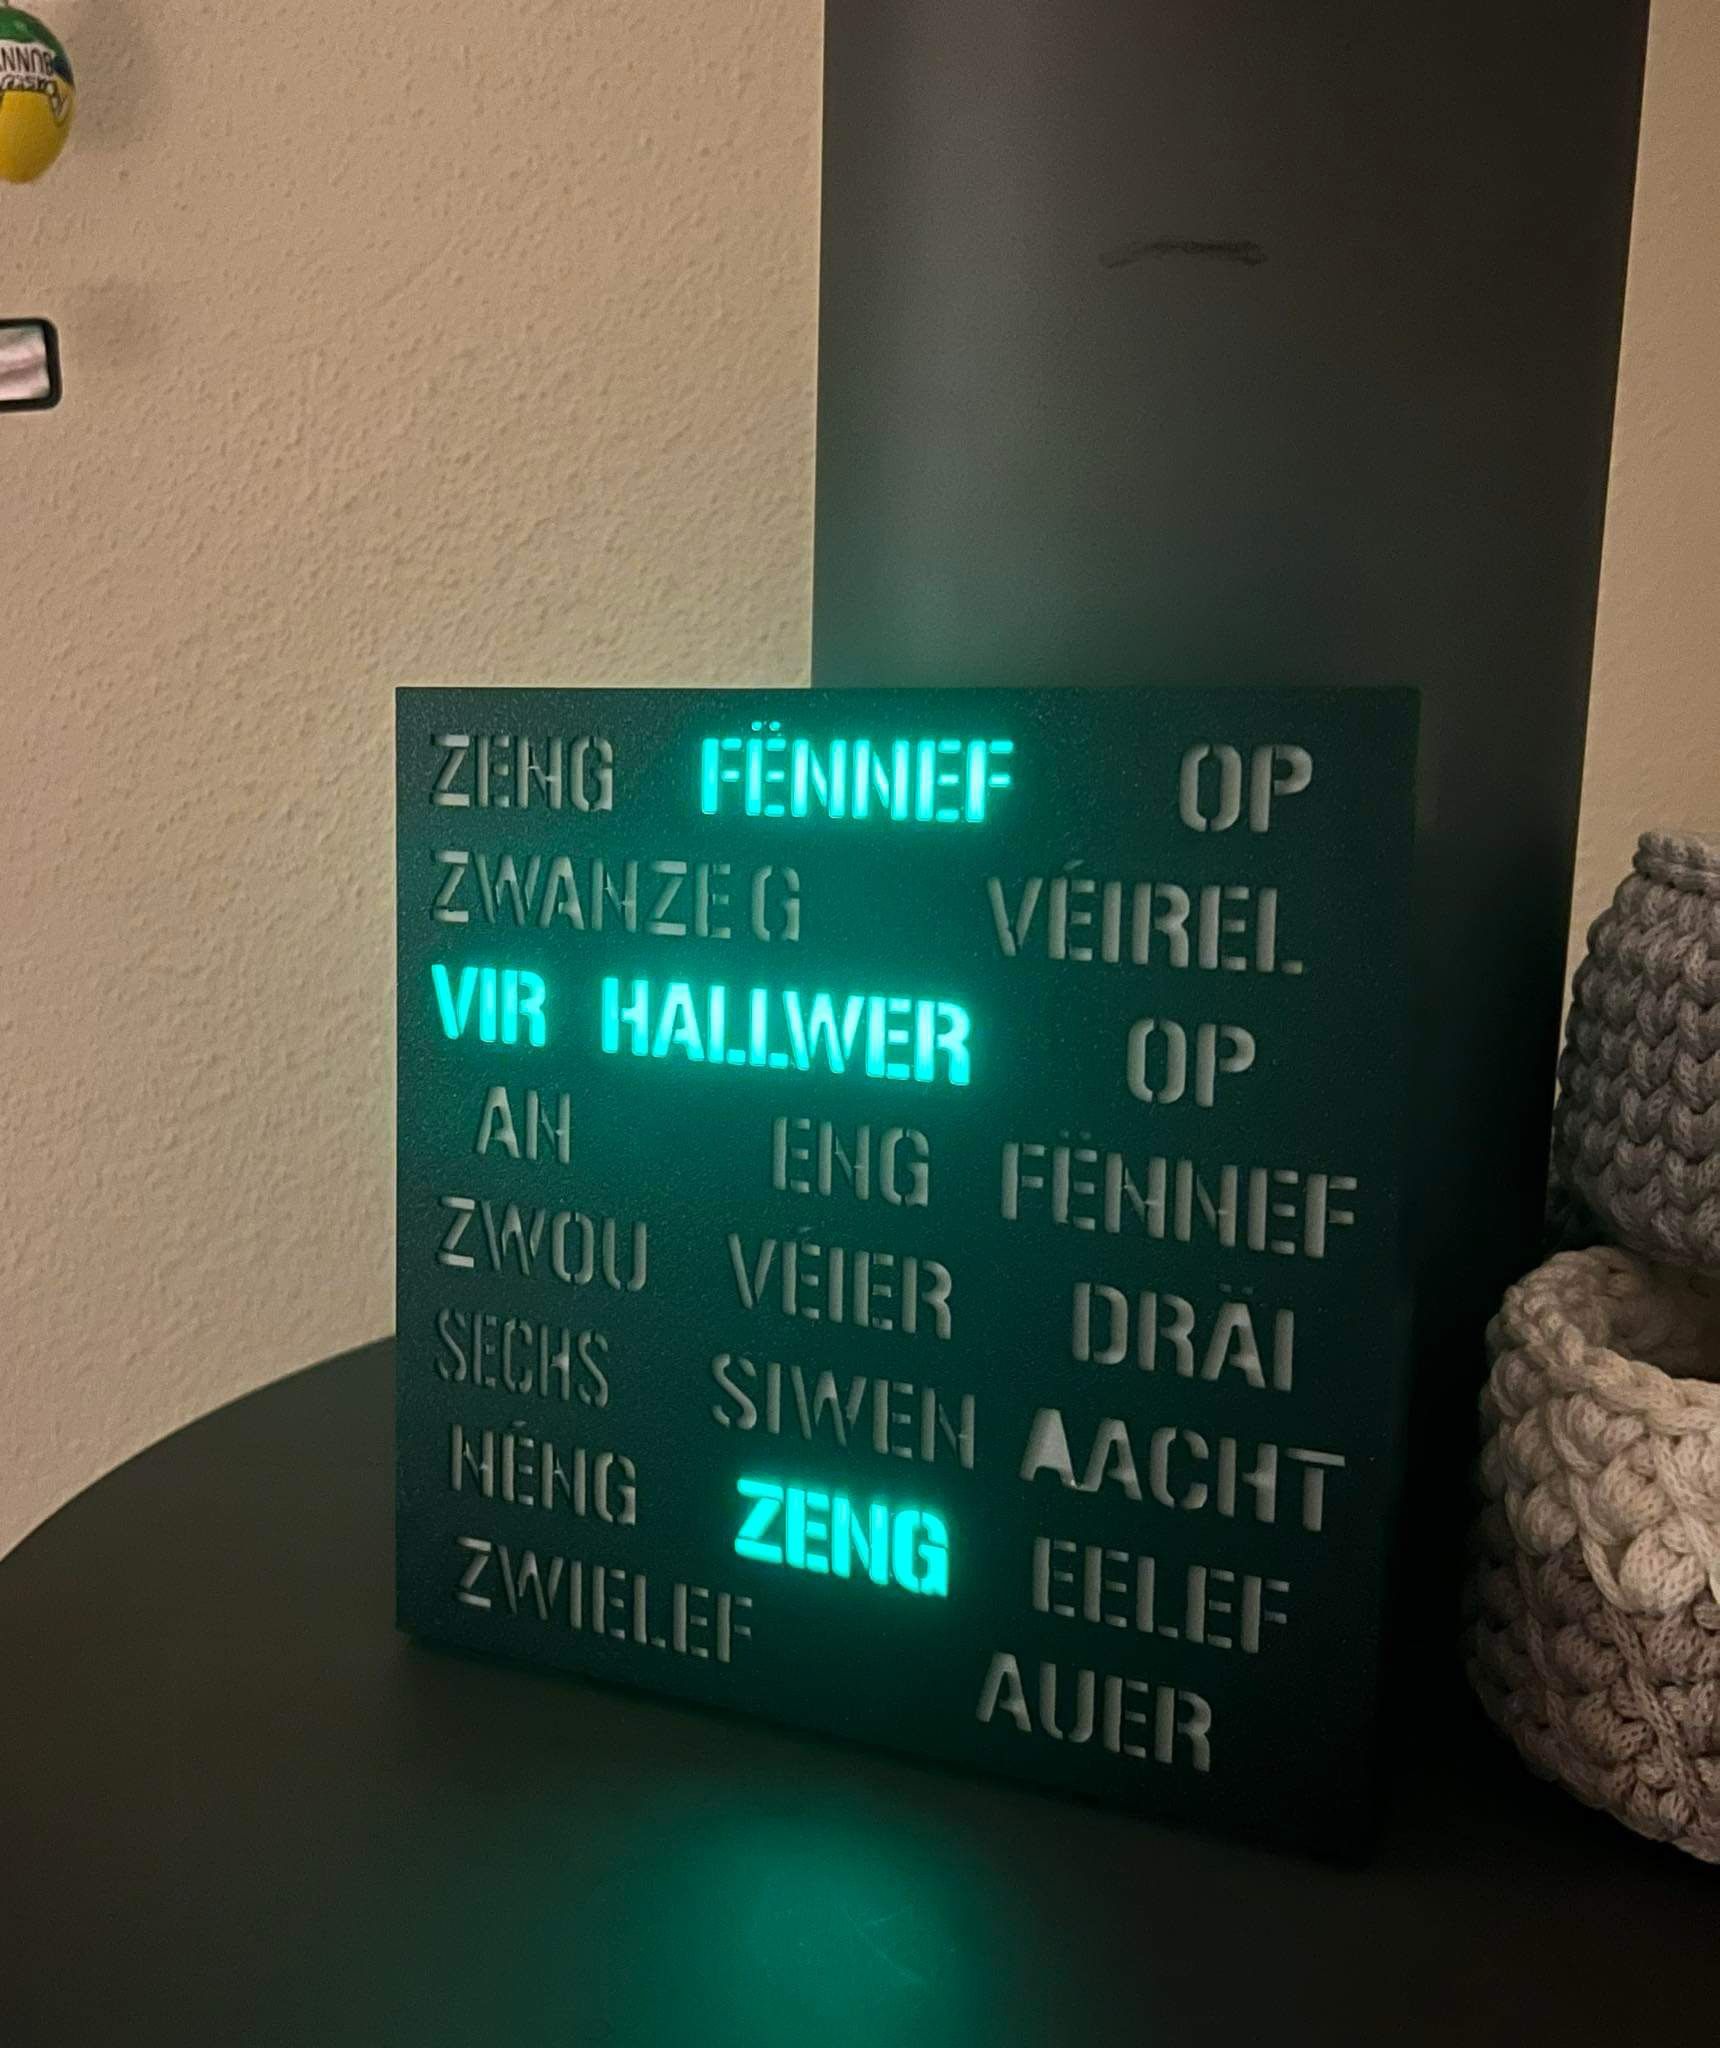
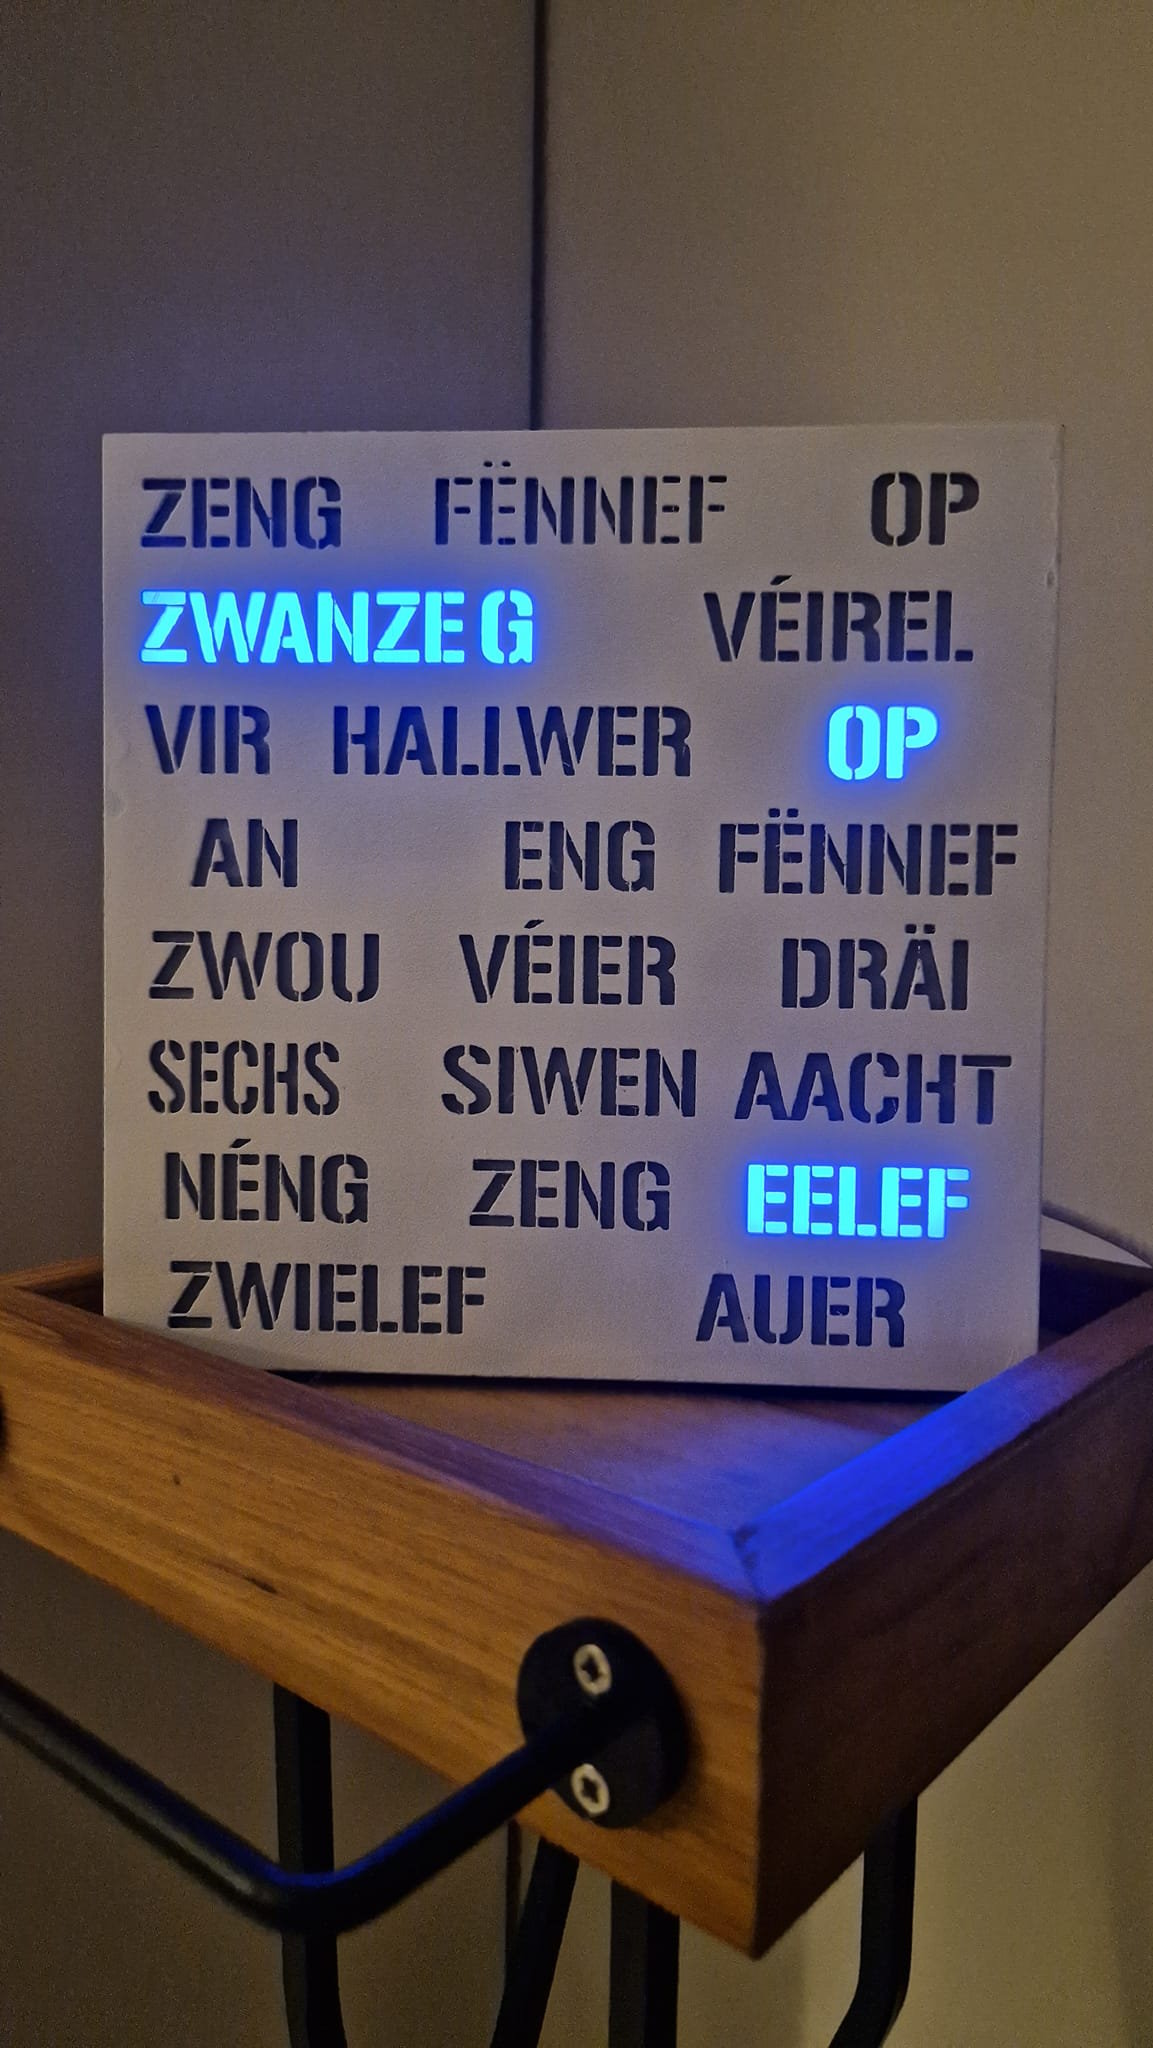
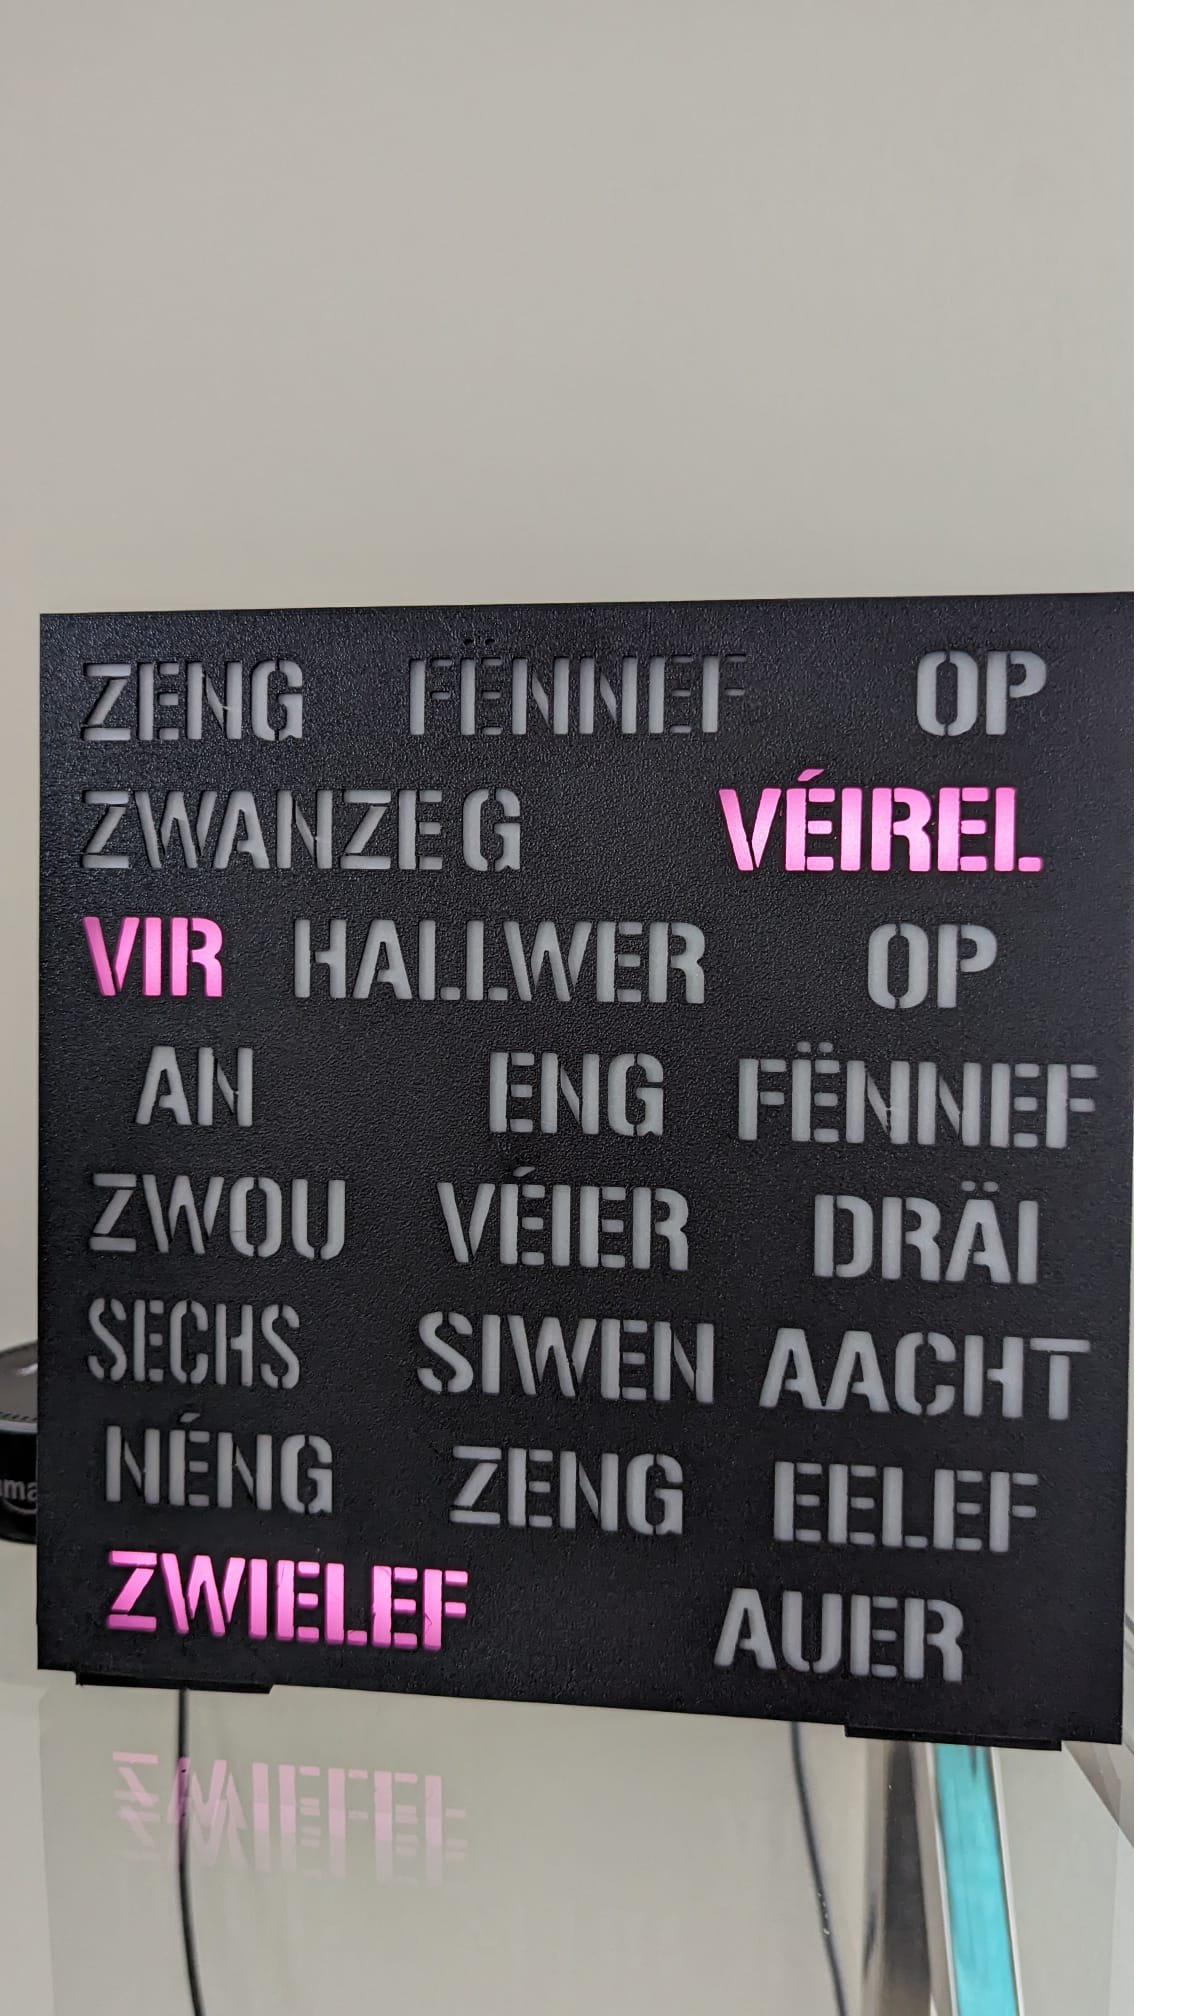
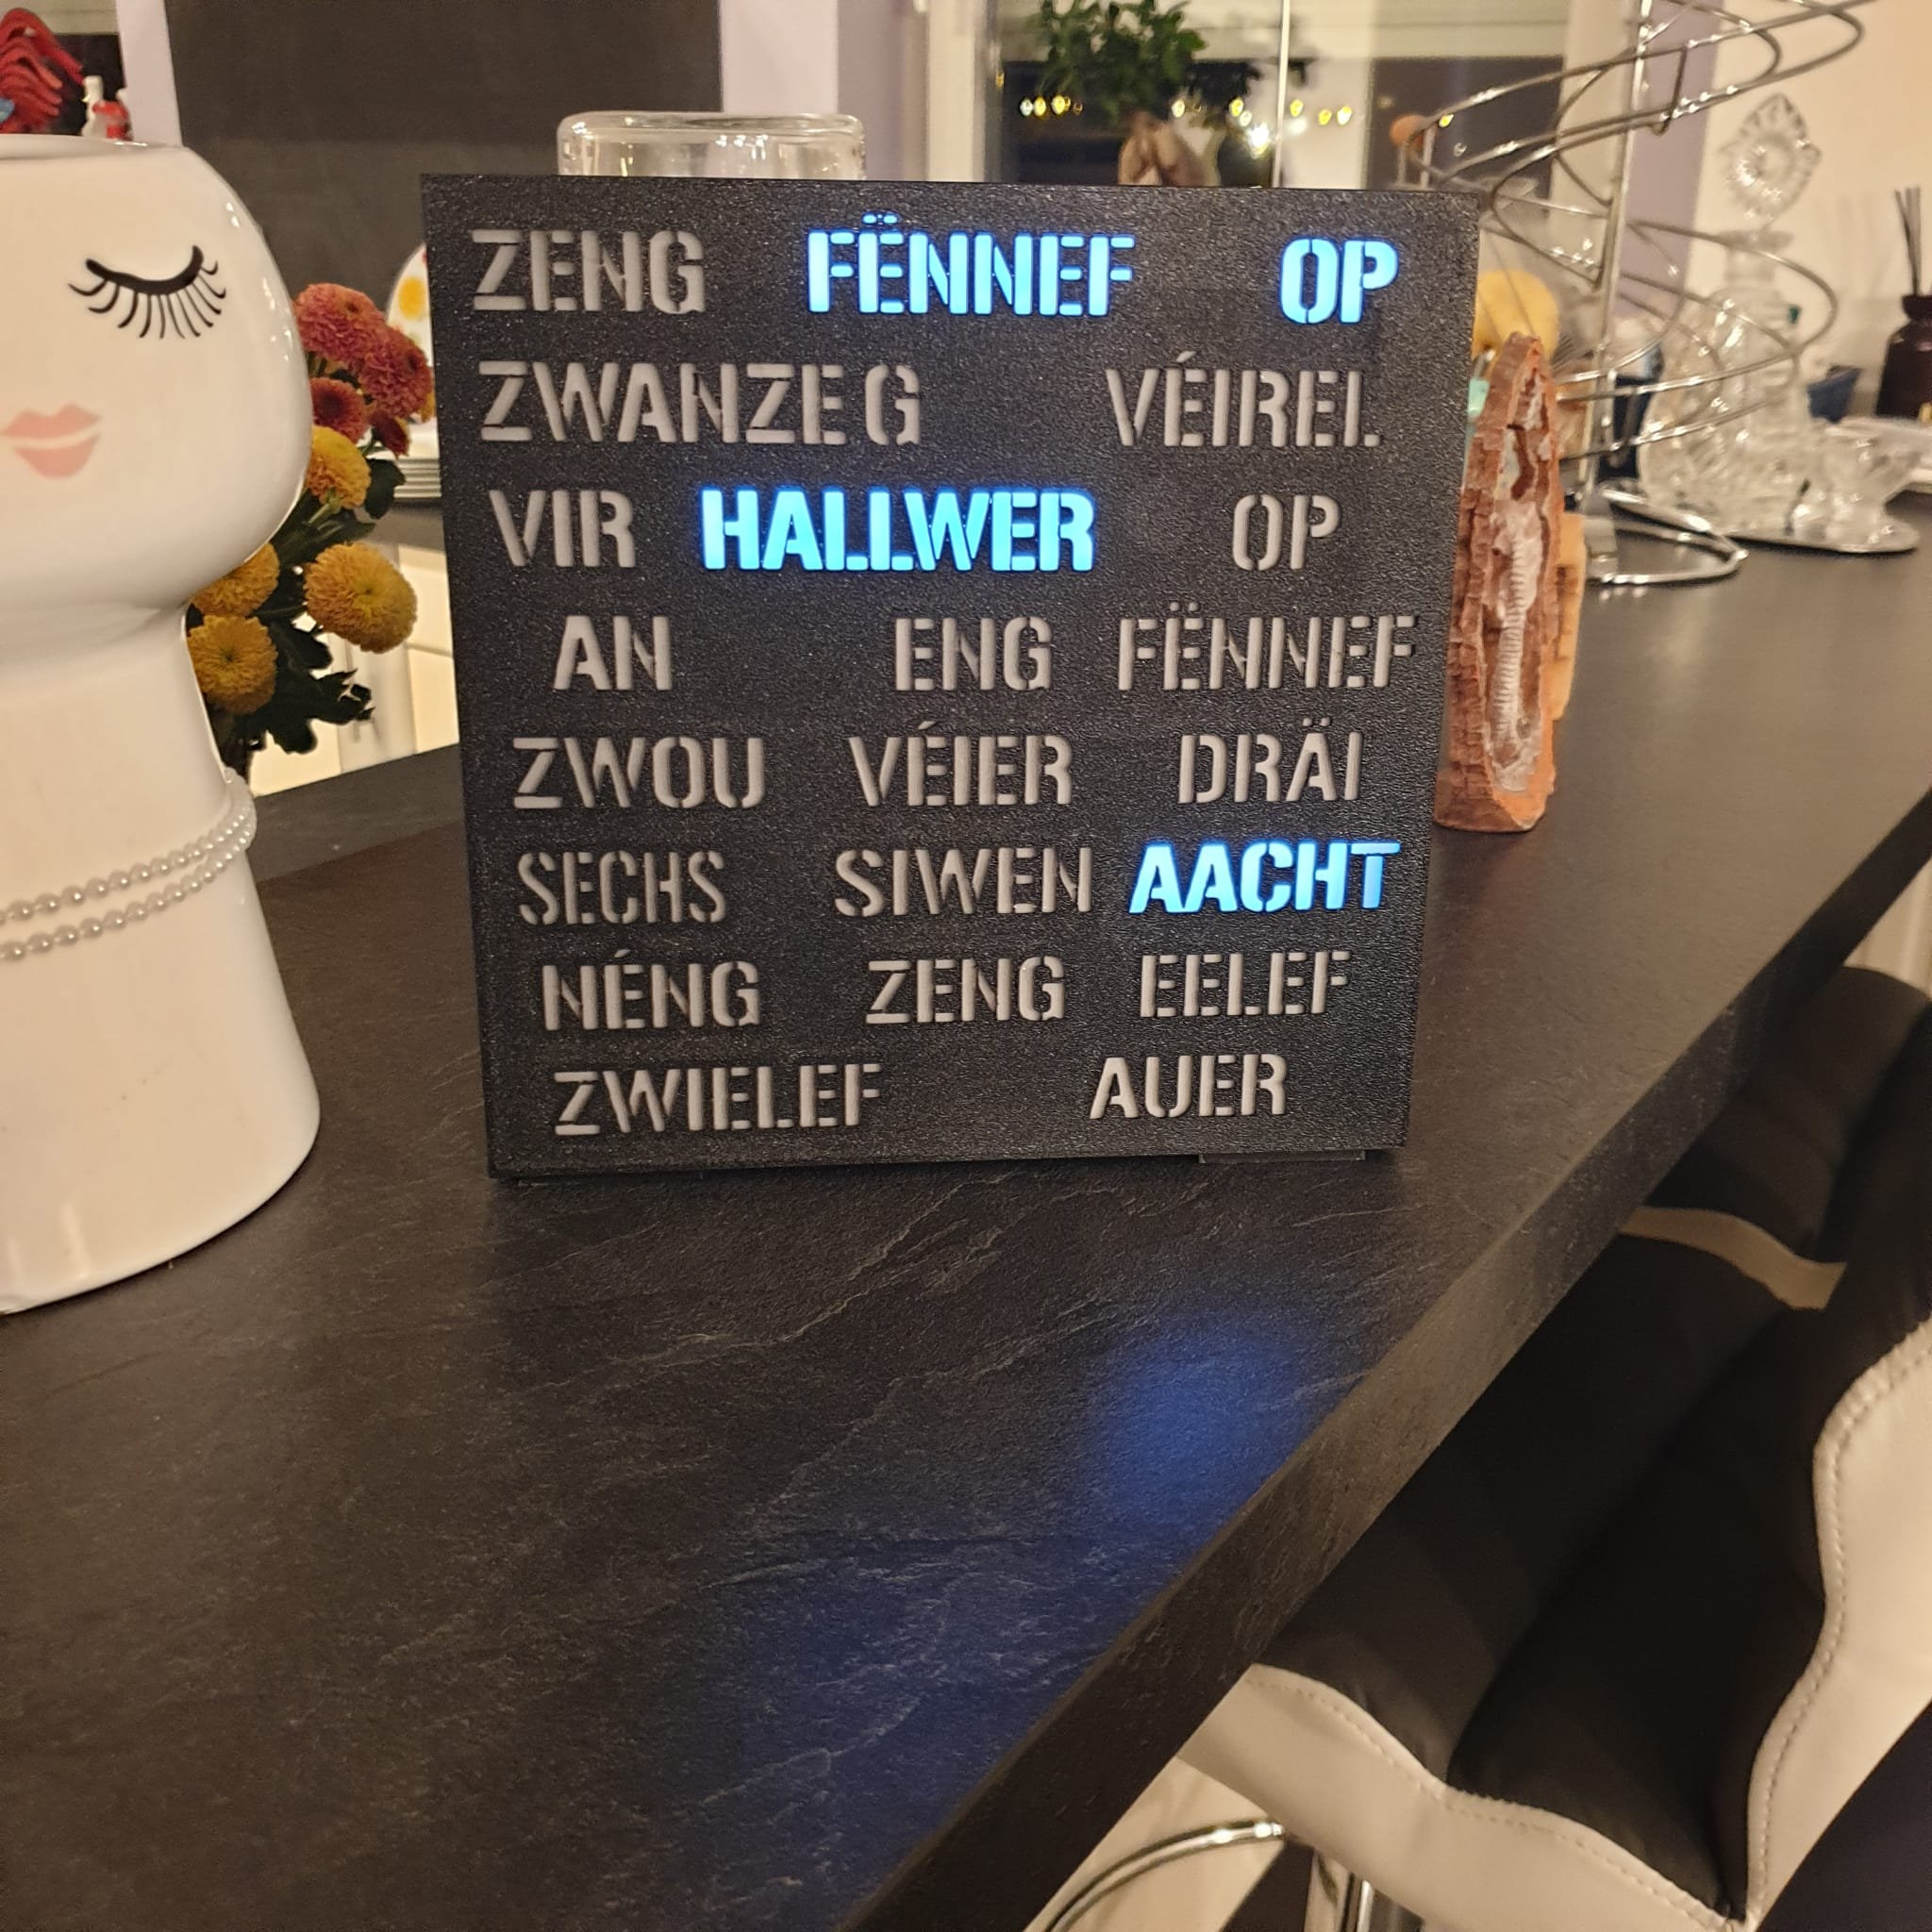
One button launches a Home Assistant script which checks if all Doors / Windows are closed and all Lights are turned off, and sends a message containing the name of the open sensor . Finally a Light is turned on with a specific color code:
Important!
Green: All Doors / Windows are closed, and all Lights are turned offWarning!
Yellow: All Doors / Windows are closed but one ore more Lights are onError!
Red: One or more Door / Windows is open
The button can be a “virtual” switch inside Home-Assistant or a clickable Button (i.e the Xiaomi Switch).
Requirements
- Home-Assistant (HA) (Duh!)
- Some Door / Windows Sensors set-up in HA
- Some Lights set-up in HA
- RGB color Light set-up in HA
In my setup, I use the following components from Xiaomi:
- Smart Gateway (with built-in RGB light)
- Door Window Sensors
- Philips Lights
- Switch Button
The Setup
Example configuration.yaml contents:
xiaomi_aqara:
  gateways:
    - host: IP.Adress.Gateway
      key: Secret.Key.Gateway
light:
  - platform: xiaomi_miio
    name: Light1
    host: IP.Address.Light1
    token: Secret.Token.Light1

  - platform: xiaomi_miio
    name: Luucht2
    host: IP.Address.Light2
    token: Secret.Token.Light2
The ‘xiaomi_aqara’ component will auto-populate the connected devices within HA. (Contact Sensors, Buttons etc…)
They are grouped in groups.yaml.
Example groups.yaml contents:
contactswitches:
  name: Doors and Windows
  entities:
    - binary_sensor.door_window_sensor_158d00xxxxxxxx
    - binary_sensor.door_window_sensor_158d00xxxxxxxx

lights:
  name: Lights
  entities:
    - light.light1
    - light.light2
    - light.gateway_light_34cexxxxxxxx
N.B. The Device ID’s ‘xxxxxxxx’ can be found in ‘Developer’s Tools’ -> ‘States <>’.
The Automation
The Automation is divided into 2 areas ; the Trigger is a Switch (input_boolean.system_check) or a Xiaomi Switch (binary_sensor.switch_158xxxxxxxx, Long Click Press) . The Action is to call a Script (service script.turn_on).
Example automations.yaml contents :
- action:
  - data:
      entity_id: script.<<unique.script.id.here>>
    service: script.turn_on
 alias: System Check
 condition: []
 id: '<<unique.automation.id.here>>'
 trigger:
 - event_data:
     click_type: long_click_press
     entity_id: binary_sensor.switch_158xxxxxxxx
   event_type: click
   platform: event
 - entity_id: input_boolean.system_check
   from: 'off'
   platform: state
   to: 'on'
The Script
This is where the magic happens. It’s slightly more complex than the automation, but if you have basic knowledge of programming (especially ‘for’ loops and ‘if’ conditions) you should be able to understand this.
We start with the message that should be visible in HA (persistent_notification.create). The states of every sensor type is queried within the ‘for’ loops. Each type of sensor (binary_sensor, switch and light) has it’s own ‘for’ loop.
Inside each loop we check if the sensor is reporting ‘on’.
If the sensor is on (notification.state==”on”), then we display it’s name in upper case ({{notification.name|upper}}).
Next step is to determine which color the light should turn on. Here we simply check if each group associated to a sensor type is on. (Remember that if at least one member of the group is ‘on’, then the group will be ‘on’ too)
If the group ‘contactswitches’ is on, the color will be red. If only the group ‘lights’ is on , the color will be yellow. Else the color will be green.
Finally, after 10 seconds (delay: 00:00:10) the script turns off the light,and the ‘input_boolean.system_check’ switch. (We don’t care if it has been used or not)
Example scripts.yaml contents:
'<<unique.script.id.here>>':
  alias: System Check Script
  sequence:
    - service: persistent_notification.create
      data_template:
      title: System Check
      notification_id: 1
      message: >
        {% for notification in states.binary_sensor %}
        {% if notification.state=="on" %}
          {{notification.name|upper}} is open
        {% endif %}
        {% endfor %}
        {% for notification in states.light %}
        {% if notification.state=="on" %}
          {{notification.name|upper}} is on
        {% endif %}
        {% endfor %}
        {% if is_state('group.contactswitches','off') %}
          All Doors / Windows are closed
        {% endif %}
        {% if is_state('group.lights','off') %}
          All Lights ore off
        {% endif %}

    - service: light.turn_on
      data_template:
        entity_id: light.gateway_light_34cexxxxxxxx
        color_name: >
          {% if is_state('group.contactswitches','on') %}
            red
          {% elif is_state('group.lights','on') %}
            yellow
          {% else %}
            green
          {% endif %}
    - delay: 00:00:10
    - service: light.turn_off
      data:
        entity_id: light.gateway_light_34cexxxxxxxx
    - service: input_boolean.turn_off
      data:
        entity_id: input_boolean.system_check
Tips ‘n Tricks!
Specific Sensors query
If you need to query only specific sensors within each type, you can specify them in the ‘for’ loop, separated with a ‘ , ‘:
{% for notification in states.binary_sensor.door_window_sensor_158d00XXXXXXXX, states.binary_sensor.door_window_sensor_158d00YYYYYYYY,states.binary_sensor.door_window_sensor_158d00ZZZZZZZZ %}
Friendly name instead of Device ID’s
The script will only display Device ID’s (like binary_sensor.door_window_sensor_158d00XXXXXXXX) in the notification message . I’d recommend to ‘customize’ these sensors with a friendly name, so that the message contains those friendly names (i.e Door Backyard etc…)
Simply go to ‘Configurations‘ -> ‘Customization‘, select the object and change it’s name.
Try for yourself
You can try this automation along wit h it’s script by downloading and using following yaml files. Simply put them in your Home-Assistant Configuration directory and restart HA Service.
Error!
Backup your existing files before doing this!These provide a couple of ‘simulated’ sensors, which are in fact input_boolean toggle switches.
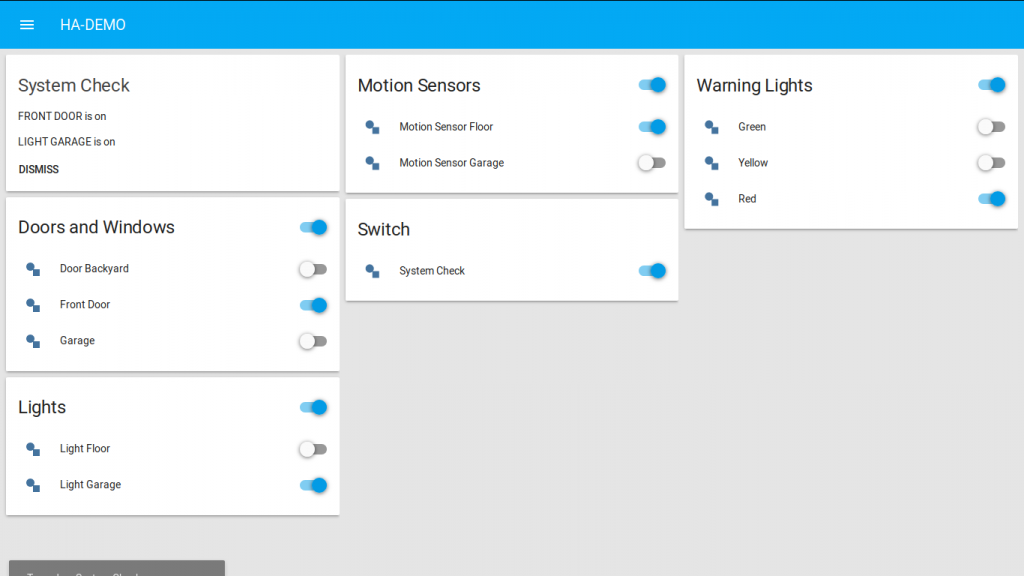
Home-Assistant with dummy toggle Switches, to test the System Check Automation
First, you toggle the desired sensors, then toggle the “System Check” Switch and watch what happens.
The Warning Light and System Check Toggles are reset after 5 seconds.
The Motion Sensors are ignored. To include them in the check you must uncomment (remove the leading “{# “and the trailing “#}” line 10 in file scripts.yaml, and comment line 12 in that same file.
I hope that this post helped you setup your own HA Automation. Feel free to leave a message below if you have any questions, suggestions or ideas.


Rezent Kommentare